project: guest bath remodel reveal

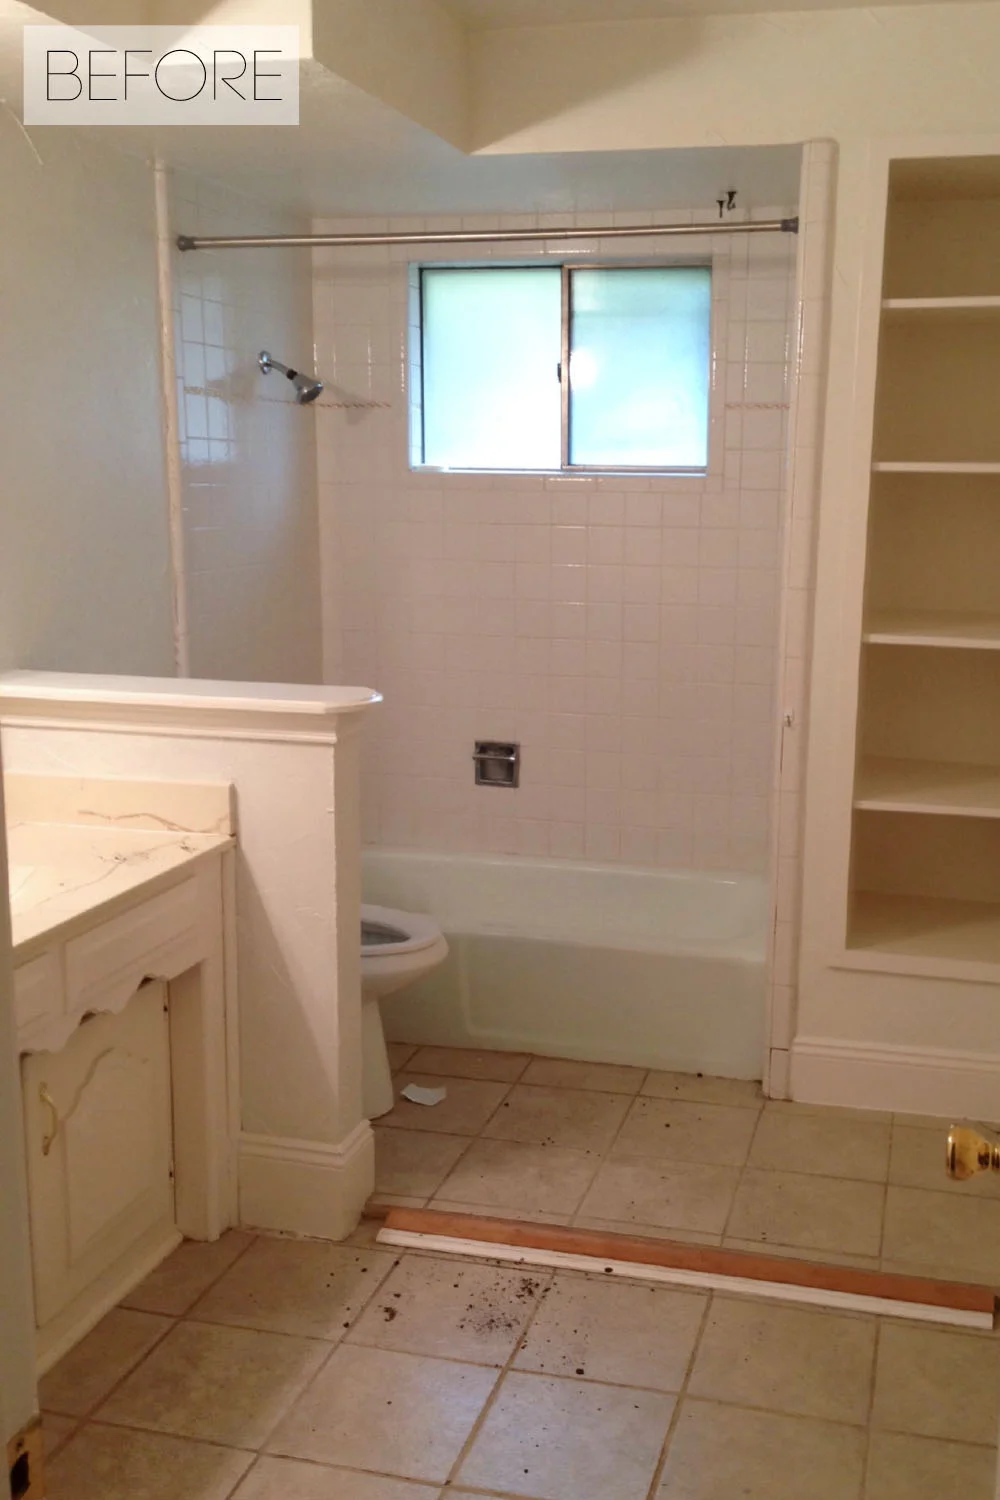
I can't believe I'm finally saying this, but our bathroom remodel that we started nearly one year ago is finished! This has been such a long road for us, but we're so happy with it now. 

We've had it about 90% complete for a few months, but we were so tired of working on it that we took a break and left the details unfinished. We finally got around to the finishing touches and I can now share the reveal with you!

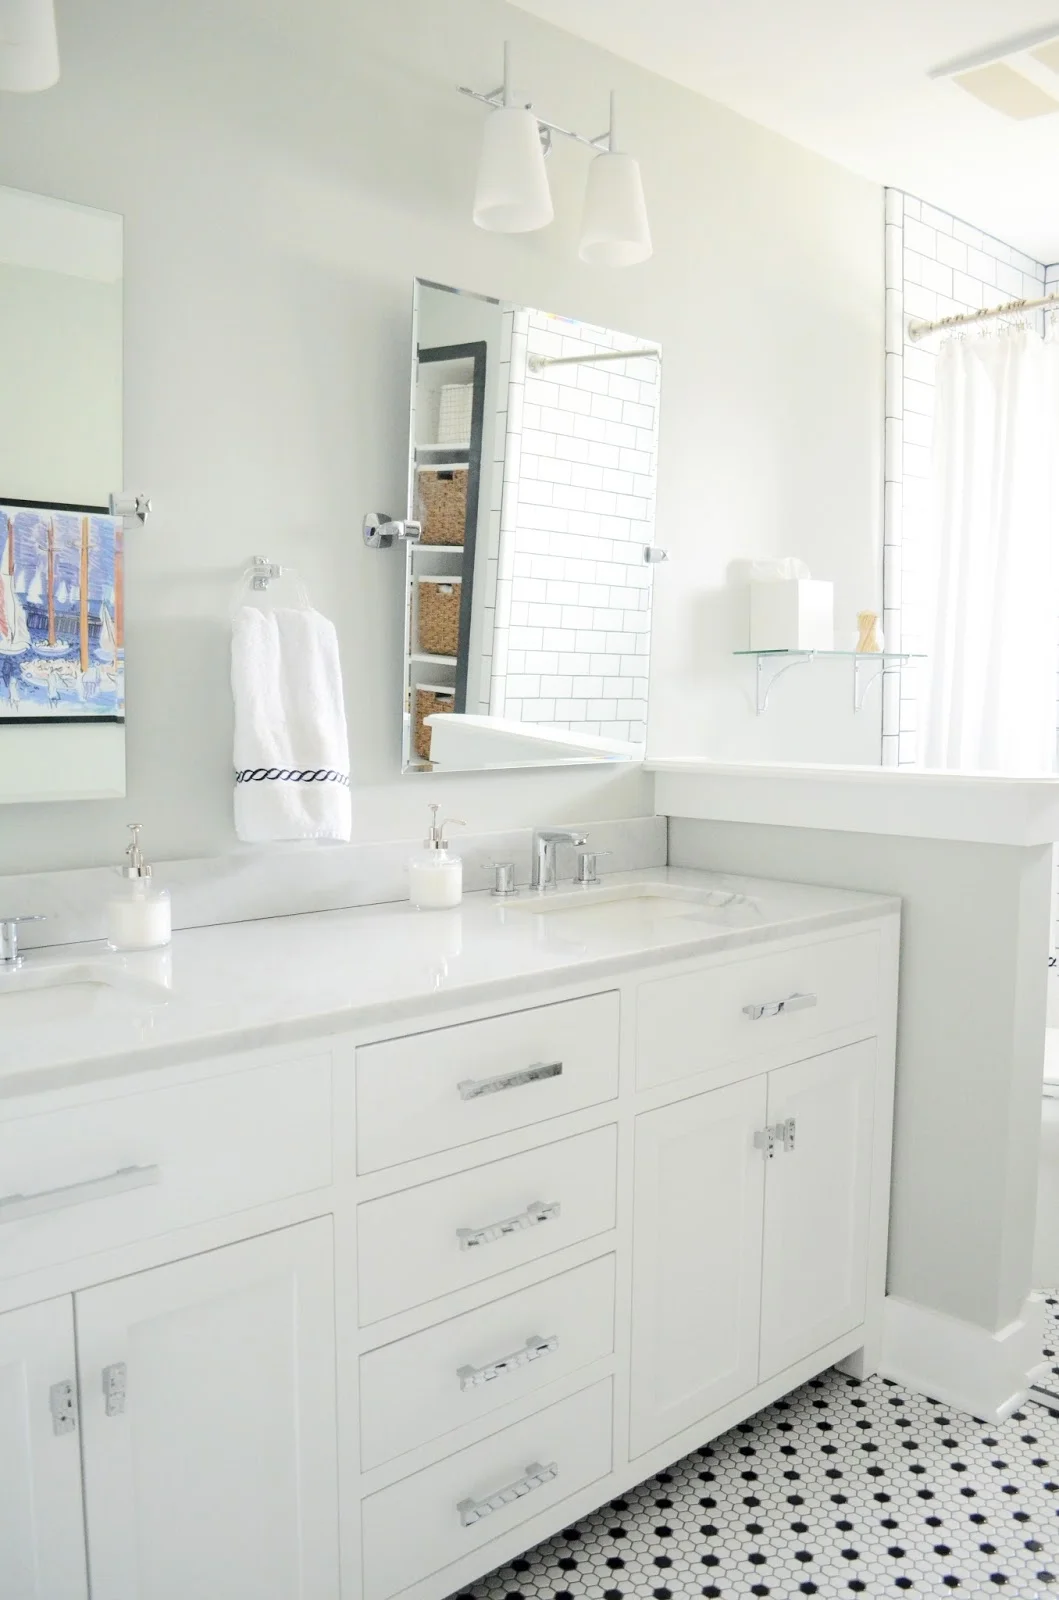
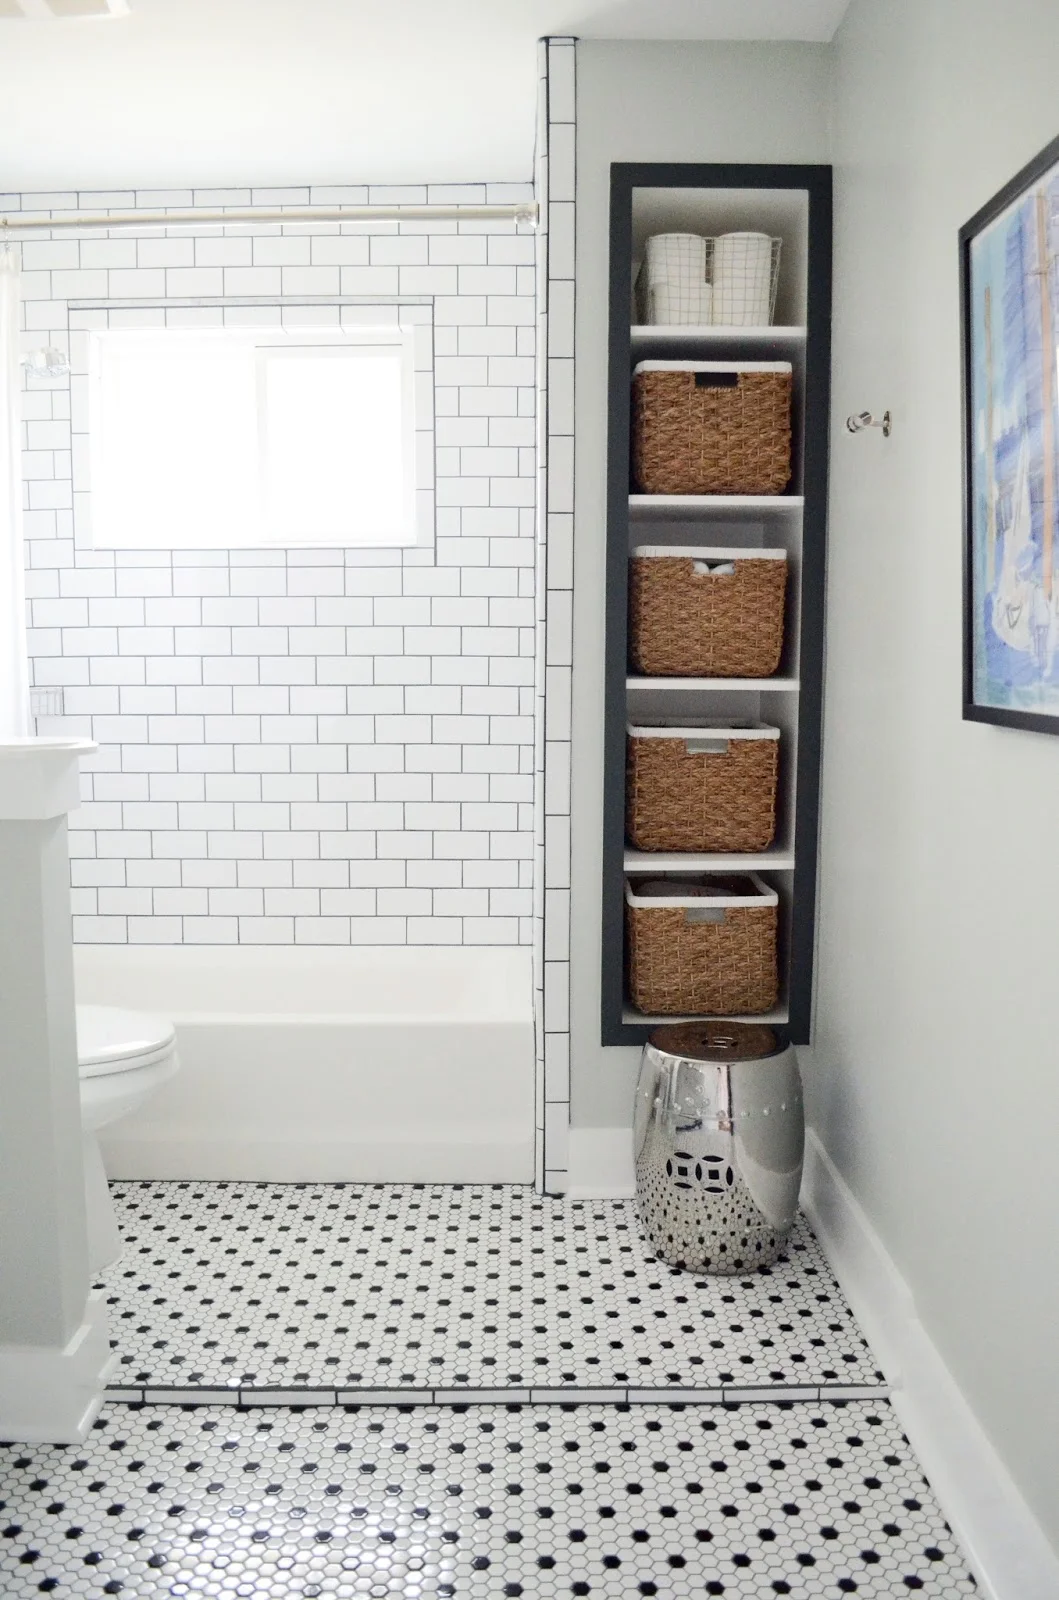
The plumbing fixtures were updated to a more modern one handle valve and added in a chrome shower basket for shower storage.

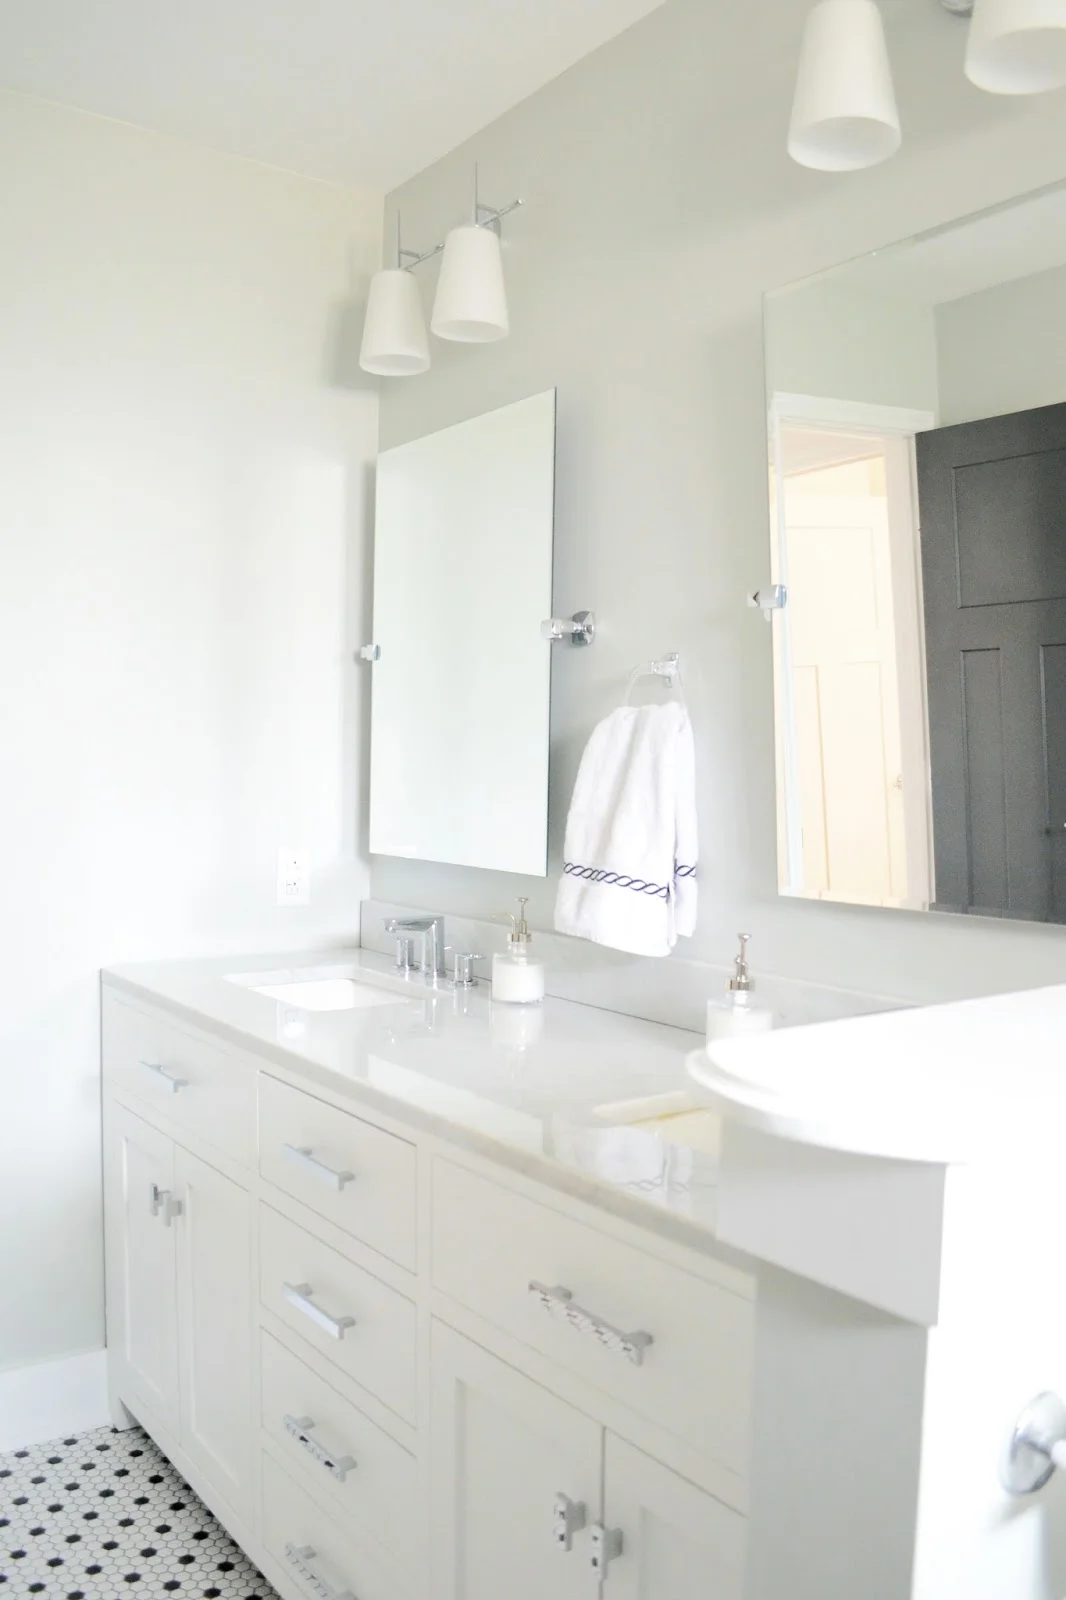
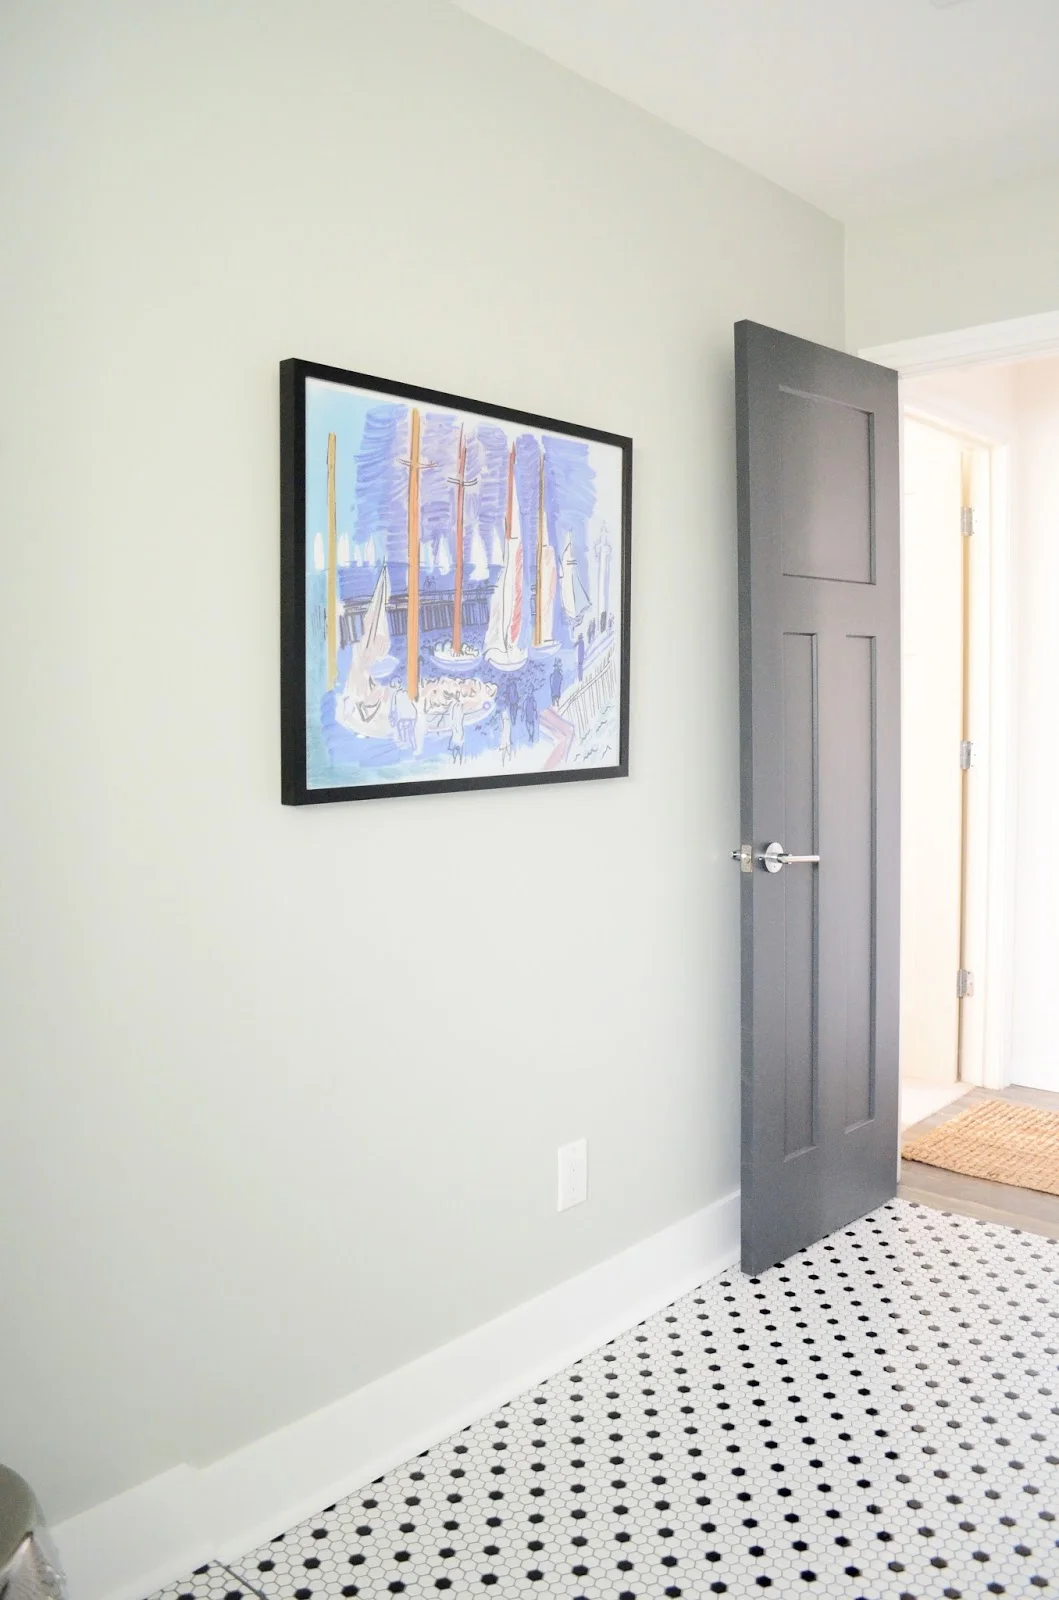
The old texture was awful, so we paid someone to skim coat the walls (which I later redid because they didn’t do a very good job), and it has totally changed the look of the bathroom! We also changed out the door and lever, and had new outlets and switches put in.

So much work, but so worth it in the end.

project: master bath remodel

We've finally received the wintery weather in Dallas that the rest of the country has been hit with all winter. I know I'm in the minority, but I absolutely love it. I'm sure it's partly because I don't have kids in school and I'm also lucky enough to not be forced out in it because of my job. I feel like a kid when I wake up to a yard covered in snow.

It's hard to believe that in just a few months we'll be lounging in that pool!

While I've been cooped up in the house I've started scheming up a plan for our upcoming master bath remodel. I'll be sharing many more details of the renovation in the coming weeks, but here is our current plan:

I've been really leaning towards adding cement tile for the flooring, but I keep going back and forth between this and just doing the entire floor in the 2 inch hex. The hex is definitely a classic, so for resale this makes the most sense. I'm ordering samples of the moroccan cement tile to hopefully make my decision easier! Which one do you prefer?

One thing I'm definitely excited about is mixing the chrome and matte black fixtures. We've decided to do a chrome rain shower fixture, possibly two depending on the design, and we're going to add extra overhead lighting because it's incredibly dim in here at night. I'm completely obsessed with these modern matte black sconcestowel rack, and paper holder. Also, I can't believe I'm finally saying this... but our guest bathroom is officially finished! It's been about 95% finished for a few months, but we only just recently got in there and finished out the small details that really make a difference. I'm shooting the bathroom next week, so keep an eye out for the reveal next Monday!

how we updated our kitchen cabinets

I've had a lot of questions about how we updated our kitchen cabinets, so I figured I would share in a blog post!

The truth is, I actually sat on it for awhile before figuring out what I wanted to do. I knew I didn't want to sand down and paint the cabinets as they were. The detailing on the front made them look dated and heavy, and they were going to be a nightmare to sand. I looked into possibly getting new doors, but quickly ruled that out due to cost - We're only staying in this house for a few years, so I didn't want to invest that kind of money on something where we wouldn't see a return. After thinking about it for a few weeks, it occurred to me that the detail was probably only an attached panel and not actually carved into the wood, so I had Charlie try to pry one off, and it worked!

At this point I thought they would be a breeze to sand since they were now flat and I only had to get around the edges, but I was so very wrong. They were painted with multiple coats of oil based paint, and since oil paint dries so hard, the sander wasn't making much of a dent. At this point I was pretty bummed because I try to avoid using paint stripper whenever possible. It smells, it's not very safe, and it's a mess to use. I checked out my options at Home Depot and found Citristrip, which was supposed to be a safer alternative to paint stripper, and decided to give it a try. 

I still used gloves during the application, but even when I accidentally got it on my skin it didn't burn. We were also excited that we didn't have to wear masks like we would if using other toxic strippers. We painted on a pretty think coat (I would describe it as the consistency of icing), and let it sit for about 30 minutes until it looked bubbly.

Going with the grain, use a paint scraper and most of it should come off in one swipe. If it doesn't come off easily, paint on another thick coat, let it sit, and then try again. The key is putting on a thick coat, and not letting it sit too long. We found if it sat too long it dried out too much and flaked off making it difficult to remove.

After removing most of the paint we still had a lot of residue, so we used odorless mineral spirits to clean it up, gave it a good sanding, and then it was ready for primer and paint. This was definitely a time consuming and messy process, but we were able to complete it in about 3 days. It will take a long time before you can convince me to do it again, but we saved thousands of dollars by refinishing the cabinets ourselves and not hiring the job out.

Here are a few tools that we found very useful in the process:

>>orbital sander<<

>>paint scraper<<

>>tack cloth<<

>>odorless mineral spirits <<

>>stripping gel<<

If you want to see our full kitchen update, make sure to check outyesterday's post!